Customize your consent landing page
Tailor your landing pages for consent to align seamlessly with your brand identity.
Customizing your consent landing pages can greatly enhance the user experience when seeking consent for your images. This article guides you through the settings.
Step by step guide:
1. Navigate to the administration tab and select Consent --> Settings, here you can customize the settings for the consent landing page to better fit your brand identity.
If not configured the settings will pick the same Logo as you have in your QBank together with some default color settings.

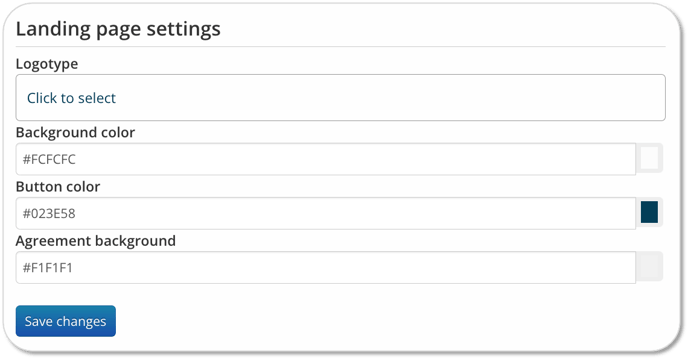
You can configure following settings for your landing page
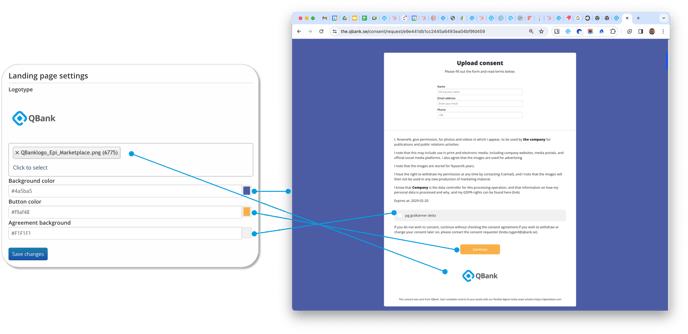
- Logotype - you can upload your own logo - just note that the logo need to be uploaded in your QBank
- Background color - Change the background color for the landing page
- Button color - change the color of the button on the consent page
- Agreement background - change the background color of the agreement text
NOTE: These settings will also be applyed to your consent email (Note yet released, will be available in version 5.12) - Article on how to make changes to the email

2. When done press Save changes.
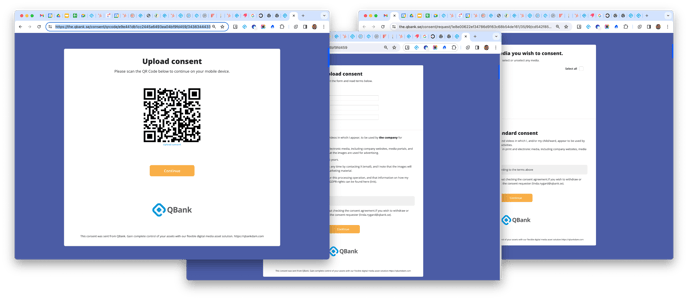
These settings will be applied across various pages in the consent process, including the QR code page for scanning, the page for responding to consent requests, and the pages for granting media usage consent. Customizing these settings allows you to create a personalized and branded experience for users engaging with your consent process.

