
The "density" command is used to set the pixel density or DPI (dots per inch) of an image. DPI determines how many dots or pixels will be printed per inch, and is therefore only relevant for images that will be printed or displayed in a physical format.
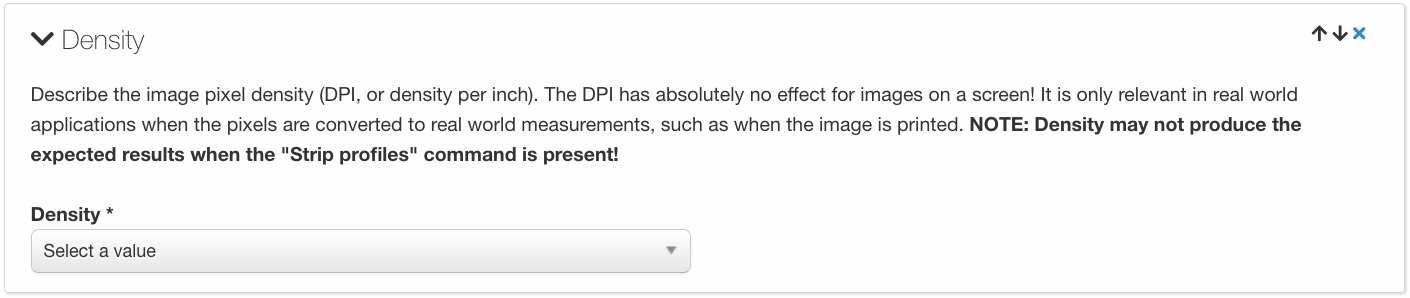
While DPI has no impact on the visual appearance of an image when it is displayed on a screen, it is crucial when an image is printed or displayed physically, as a higher DPI results in a sharper and more detailed print or display. The appropriate DPI value will depend on the intended use of the image and the printing technology being used.
The "density" command typically offers several DPI values to choose from, including 72, 96, 150, and 300 DPI. The appropriate value will depend on the intended output size of the image. For example, 72 DPI is suitable for images that will only be displayed on screens, while 300 DPI is recommended for images that will be printed at a larger size, such as posters or large format prints.
It's important to consider the intended use of an image when determining its DPI. For example, images intended for online use do not need to have a high DPI, as screen resolutions are typically lower than print resolutions. On the other hand, images intended for print should have a DPI that is sufficient for the intended output size, in order to ensure a high-quality and sharp final product. Resizing an image can also affect its DPI, so it's important to keep this in mind when making any changes to the image.