
The "crop" command is a versatile tool that allows you to crop a rectangular area of an image. This can be particularly useful when you need to remove unwanted parts of the image or focus on a specific area. When using the "crop" command, you will need to specify the width and height of the area you want to crop.
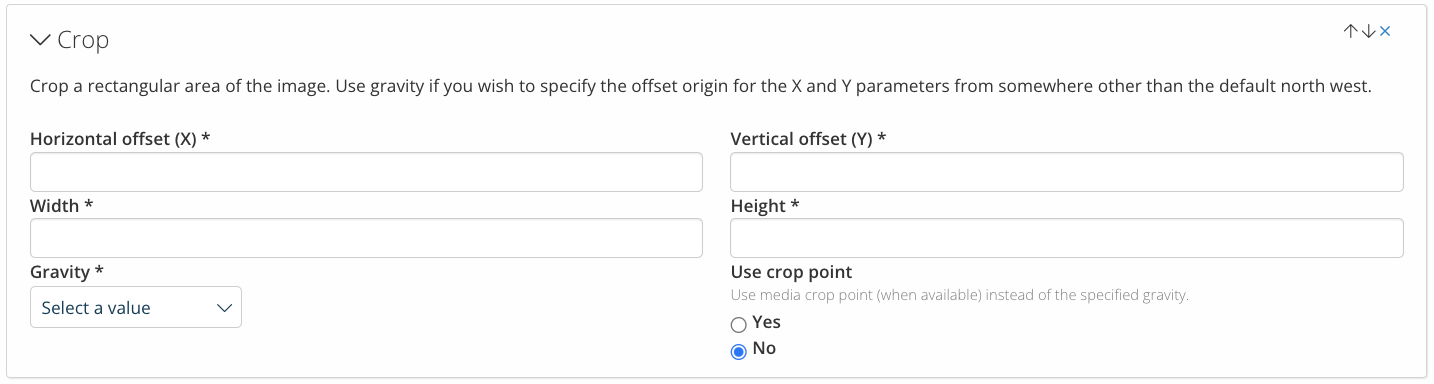
In addition, the "crop" command also includes a "gravity" option that lets you specify the offset origin for the X and Y parameters from somewhere other than the default north-west. This is particularly useful when you need to crop an image from a specific point or angle. For example, if you want to crop an image from the center, you can set the gravity to "center," and the cropping area will be centered around the middle of the image.
It's worth noting that the "crop" command is often used in conjunction with the "resize" command, as part of an image optimization process. When resizing an image, the aspect ratio may be changed, resulting in empty space around the edges. By using the "crop" command after resizing, you can remove this empty space and ensure that the final image has the desired dimensions.
It's generally recommended to use the "crop" command after the "resize" command, rather than before, as this can help to preserve the quality and clarity of the image. By first resizing the image and then cropping it, you can ensure that the final image retains its original aspect ratio and clarity, while still being optimized for your specific needs.
Overall, the "crop" command is a powerful tool that can help you create more visually appealing and focused images. By combining the different options available and using it in conjunction with other commands, you can achieve precise and efficient cropping, saving time and effort in the process.